As an industry veteran with over 15 years in slip ring industry, I’ve seen how a $100 component can paralyze a $50,000 entrance system. In the world of commercial architecture, the automatic revolving door slip ring (also known as a rotary electrical interface or collector ring) is important for enables continuous 360-degree rotation without tangling wires.
This comprehensive guide leverages deep technical expertise and real-world data to help facility managers and technicians master the installation, troubleshooting, and replacement of these critical components.
Understanding the Role of Slip Ring in Modern Revolving Doors
An automatic revolving door is a complex assembly comprising the header (canopy), curved walls, the door wings, and the electronic control unit. While the curved walls remain stationary, the door wings and part of the header rotate constantly.
Because the control system is split—partly in the fixed ceiling and partly within the rotating wings—a conductive slip ring is mandatory to bridge the gap for power and sensor signals.
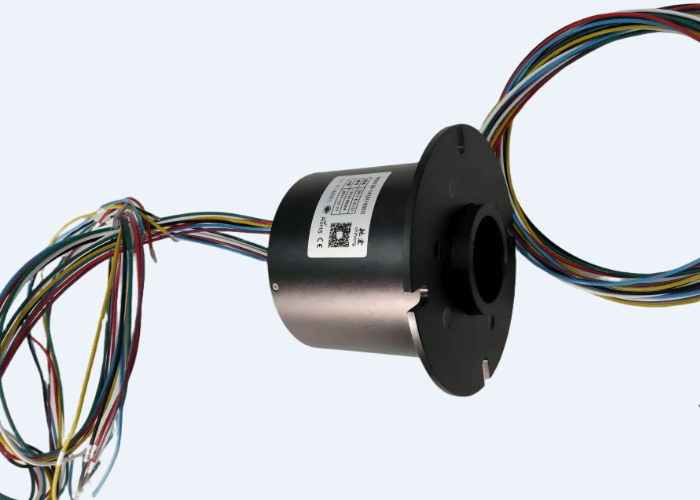
The Technical Anatomy of the Connection
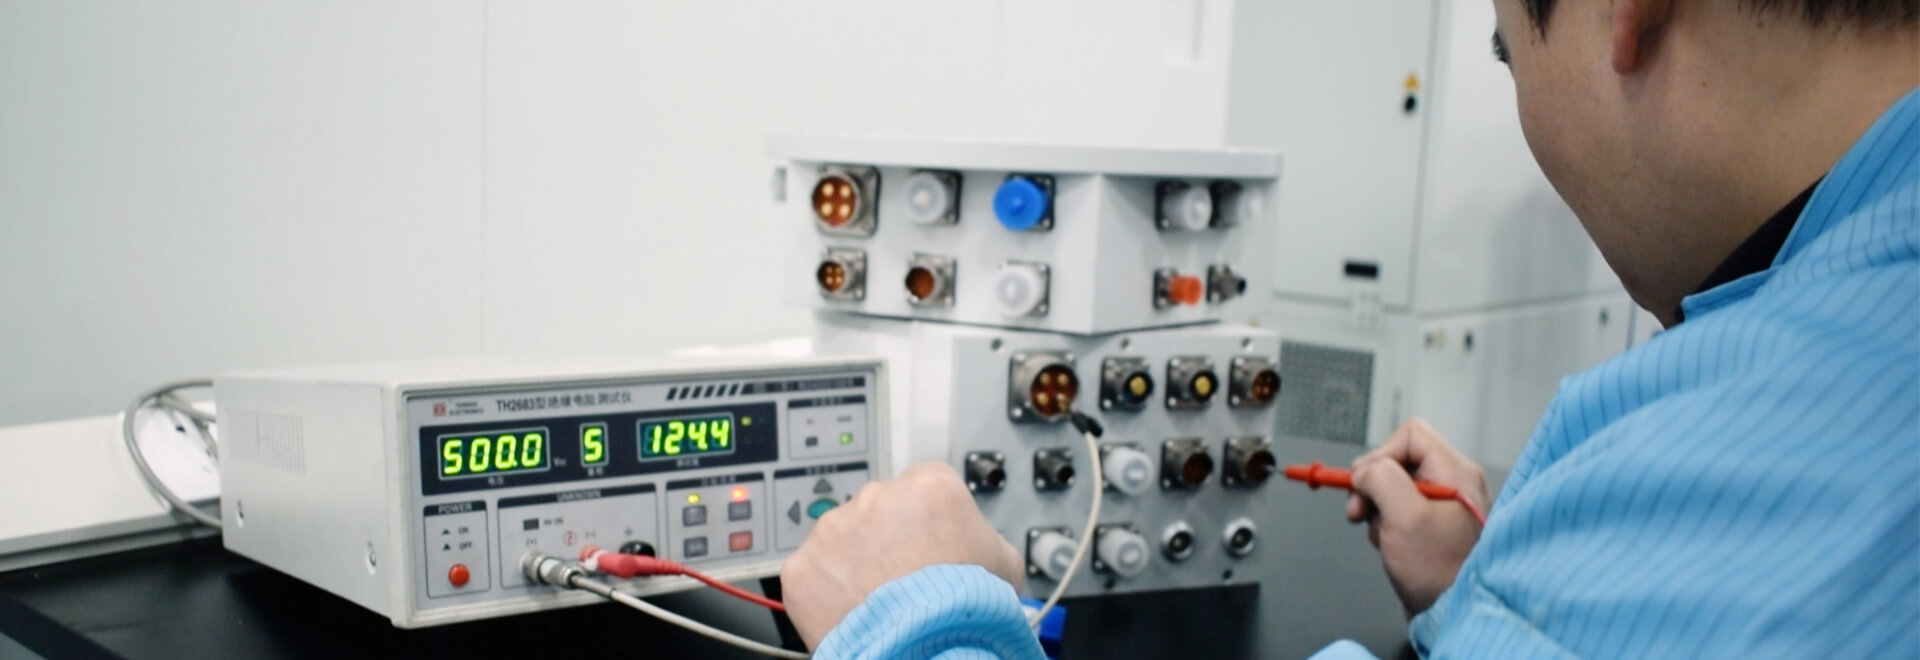
Slip rings are typically tucked away inside the canopy or header. They function as a bridge, utilizing precious metal brushes that slide against conductive rings to maintain an electrical circuit during motion.
Industry Insight: According to 2024 market data, over 85% of revolving door electrical failures stem from “signal noise” caused by worn-out contact points in sub-standard slip rings. Choosing high-performance gold-on-gold contacts can increase service life by up to 300%.
Step-by-Step Installation: How to Mount a Revolving Door Slip Ring
Correct installation is the difference between a door that lasts ten years and one that fails in ten months. Precision is everything when dealing with rotary electrical connectors.
2.1 Mechanical Fixing and Radial Alignment
- Secure the Rotor: Position the slip ring onto the rotating shaft. Tighten the provided screws in a radial direction to ensure a snug fit.
- Cable Management: Organize the lead wires carefully. Ensure there is enough slack so they don’t impede free rotation.
- Prevent Compression: Never press or sharply bend the wires; internal wire breakage is a leading cause of intermittent “ghost” faults in door sensors.
2.2 Stator Mounting and Self-Alignment
The stator (the stationary part) features an anti-rotation tab or “stop-turn” piece.
- Use screws to link this to the fixed portion of the door.
- Pro Tip: Before final tightening, manually rotate the slip ring. Allow the unit to “find its center” naturally to prevent eccentric wear.
Expert Note: Never “hard-mount” both the rotor and stator. One side must have a degree of “float” to accommodate the natural mechanical run-out of the door’s main shaft.
Critical Precautions for Slip Ring Assembly
We must emphasize that precision during assembly dictates the Mean Time Between Failures (MTBF).
3.1 Avoiding Wire Friction and Chafing
- Keep stator wires away from the rotating shaft.
- Keep rotor wires clear of the stationary housing.
- Friction during rotation will eventually strip the insulation, leading to catastrophic short circuits.
3.2 Tightness and Clearance
| Component | Requirement | Consequence of Failure |
| Main Body | Must be tightly coupled to the shaft | Vibration and signal jitter |
| Fixed Nuts | Must be vibration-proof and not loose | Mechanical misalignment |
| Mounting Ends | Do not force-tighten both ends | Premature bearing failure |
Key Takeaway: A “floating” anti-rotation connection is the industry gold standard for longevity.
Professional Maintenance: Replacing a Faulty Revolving Door Electrical Slip Ring
Maintenance should always be performed by qualified personnel. If your door is jittering or losing its “home” position, it’s time for a replacement.
4.1 Preparation and Safety First
- Source Parts: Ensure you have original factory (OEM) slip ring replacements and the correct toolkit.
- Site Safety: Deploy safety barriers and warning signs for pedestrians.
- Verification: Inspect the new part for any transit damage before beginning the swap.
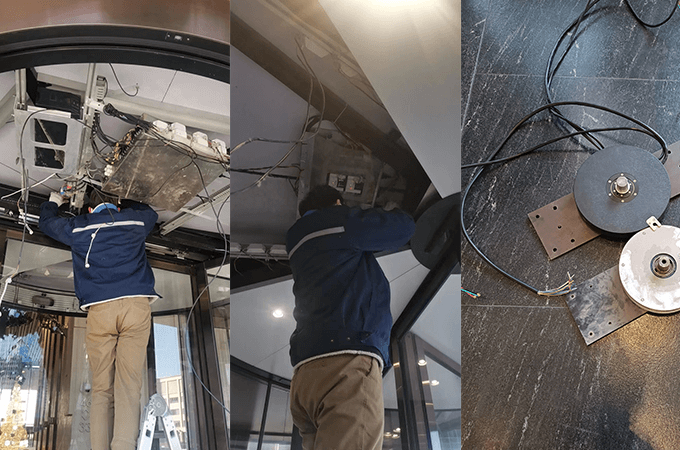
4.2 The Replacement Process
- Power Down: Completely disconnect the power supply to the revolving door.
- Access: Remove the ceiling panels/ceiling boards.
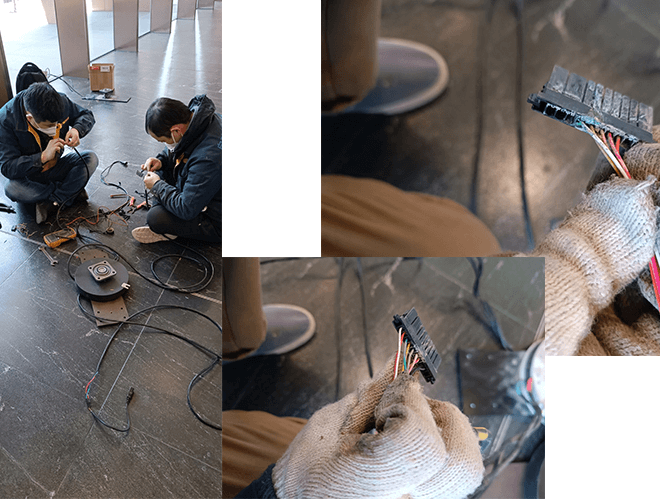
- Disconnection: Note the wiring diagram, disconnect the old leads, and remove the entire slip ring assembly.
- Install New Unit: Mount the new slip ring and reconnect the circuitry precisely.
- Restoration: Reinstall the ceiling panels.
- Testing: Power the system back up and observe the rotation for smoothness and signal stability.
Troubleshooting Guide: Why Do Slip Rings Fail?
Even high-quality rotary electrical interfaces can fail under harsh conditions. Here are the primary culprits we see in the field:
5.1 Quality and Specification Mismatches
Using a low-quality slip ring often leads to “smoking” or burning out during operation. If you replace a part with a non-compatible version, the electrical resistance may be too high, leading to immediate failure.
5.2 Environmental Hazards: The Water Threat
Water ingress is a “silent killer” for electronics.
- Improper Waterproofing: If the door header isn’t sealed, rain can seep in.
- Standard Failures: Improperly installed fire sensors or plumbing/heating leaks above the door often drip directly onto the slip ring.
5.3 Electrical Overload and Short Circuits
- Overload: Excessive current causes heat and sparking at the contact surface.
- Short Circuits: In older units, this is usually due to reaching the end of the service life. In new units, it typically indicates a manufacturing defect in the insulation or a pinched wire.
Summary: Maximizing the Lifespan of Your Revolving Door
Maintaining a revolving door’s conductive slip ring is not just about keeping the lights on—it’s about building safety and operational efficiency. By ensuring precise alignment, avoiding “hard-mounting” errors, and protecting the unit from moisture, you can extend the life of your entrance system by years.
Essential Checklist:
- Always use OEM-compatible parts to avoid overload.
- Ensure the stator is allowed to “self-center” during installation.
- Never skip the safety barrier step during public-area maintenance.
Would you like me to provide a quote for high-durability gold-contact slip rings?
See What We Can Do