Slip rings, also known as rotary electrical connectors or electric swivels, are electromechanical devices that allow the transmission of power and electrical signals from a stationary part to a rotating part. They can be found in a variety of applications, such as wind turbines, motors, generators, and even medical imaging equipment. Slip rings help maintain a stable electrical connection while simultaneously allowing for a 360-degree continuous rotation, thus ensuring smooth operation of connected devices.
While commercial slip rings are readily available in the market, creating homemade slip rings can be an appealing option for many. Homemade slip rings offer the opportunity to customize and tailor the specifications to suit specific applications or to integrate them into a DIY project. By crafting your slip rings, you can effectively minimize costs, improve your understanding of electromechanical systems, and even gain valuable hands-on experience in electrical engineering. The concept of homemade slip rings empowers individuals to bring their ideas to life and develop innovative solutions for their specific needs.
Understanding Slip Rings
What Are Its Components and How Do They Function?
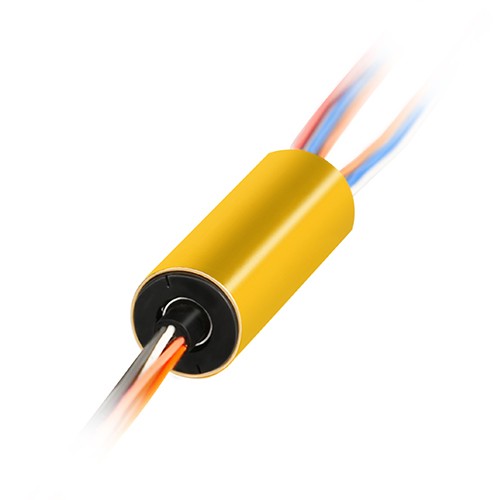
A slip ring, at its core, has a fairly straightforward structure. It is fundamentally composed of two primary components: a conductor ring (also known as a rotor) and a brush. The conductor ring is the rotating part and is often made of conductive metals like copper, brass, or silver depending on the application. Mounted on a rotating assembly, it rotates in conjunction with the machinery it’s integrated into. The brush, by contrast, remains stationary and is typically made of carbon or metal. This brush is precisely placed so it maintains constant contact with the rotating ring as it turns, allowing electrical signals or power to be transferred through the brush to the ring and then into the rotating device. The play of these components ensures continuous, uninterrupted transmission of power or signals.
Different Types and Models of Slip Rings
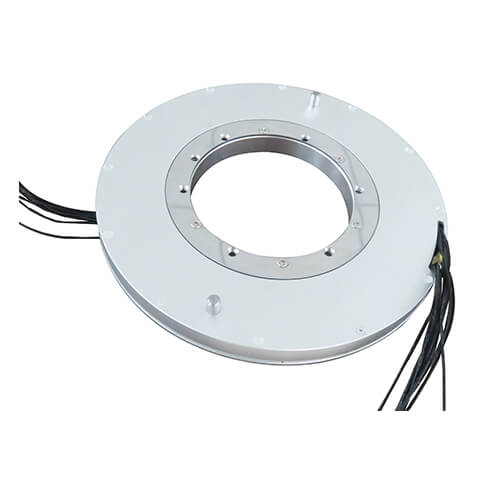
The diverse range of slip rings on the market serves a spectrum of applications, from everyday devices to complex industrial machinery. This variety largely corresponds to the design and functionality of the slip ring. Among common types, you’ll find the capsule slip rings, which are small and light, great for CCTV systems and light industrial machines. There are through-bore slip rings that have a hollow shaft in the middle, allowing additional space for shaft mounting or hydraulic passage. For heavy-duty industrial use, there are pancake slip rings, whose flat design is optimal for high rotation speed and space constraint. For data and signal transmissions, such as in high-speed data equipment and CCTV systems, ethernet slip rings come into play. These just graze the surface of the myriad slip ring types and designs, displaying the diverse functionality that is adaptable to numerous unique applications.
Why Homemade Slip Rings
Potential Cost-Saving from Homemade Slip Rings
Building a slip ring may present a financially savvy option for those with technical prowess. Commercially available slip rings can often come at a formidable cost, especially when dealing with special types designed for specific applications. By crafting a slip ring at home, you choose your parts which can drastically reduce cost. Material choices, alongside controlling labor, shipping, and marketing expenses, can contribute to substantial savings, particularly for those using slip rings in a hobbyist or lower-budget professional context.
Ability to Tailor-Make the Slip Ring to Your Precise Needs
Every project or application comes with its own set of requirements and limitations. Off-the-shelf slip rings may not always fit the unique specifications required for specific applications. In such cases, creating a homemade slip ring offers greater control over parameters like size, number of circuits, and the type of signals or power it needs to handle. This flexibility allows for more precise customization, ensuring the final component meshes seamlessly with your apparatus.
Opportunity to Enhance Technical Abilities and Understanding of Electromechanical Systems
Crafting a homemade slip ring isn’t just about the final product; it’s also about the journey. The process allows you to enhance your understanding of electromechanical systems, testing your skills and offering an enriching learning opportunity. The hands-on exposure to components and hardware, problem-solving scenarios, and troubleshooting are invaluable experiences, providing practical knowledge that can extend beyond this singular project. For those interested in fields related to electrical or mechanical engineering, this is a chance to improve your technical abilities and expand your hands-on experience.
How to Make a Homemade Slip Ring
Step-by-step guidelines – Providing a comprehensive, easy-to-follow guide on how to construct a homemade slip ring.
Design the slip ring: First, determine the intended purpose of your slip ring and the required specifications. Sketch a design based on the required size, shape, number of circuits, and the type of signals or power to be transmitted. Ensure that the design also accounts for mounting and connection to your device.
Gather materials and tools: Acquire a metal or conductive ring that fits your design requirements, brushes (carbon or metal), insulating material, wires, screws, or other mounting hardware, and any additional components needed for your specific application. Recommended tools include a drill, soldering iron, wire strippers, pliers, and multimeter.
Assemble the components: Start by positioning the brushes so they maintain continuous contact with the metal ring when assembled. Secure the brushes in their respective locations using screws or other mounting hardware. Some designs might require brush holders or additional support structures to ensure proper alignment.
Connect the wires: Solder the electrical wires to the brushes and route them through any necessary strain relief mechanisms. These wires will serve as the connection point to the stationary part of your device. If your design includes multiple circuits, take care to organize and insulate the wires accordingly to prevent unintentional short circuits or signal interference.
Mount the slip ring: Align and secure the assembled slip ring with the device it will be integrated into, ensuring proper fit and rotation alignment. Double-check that the brushes maintain constant contact with the metal ring during rotation.
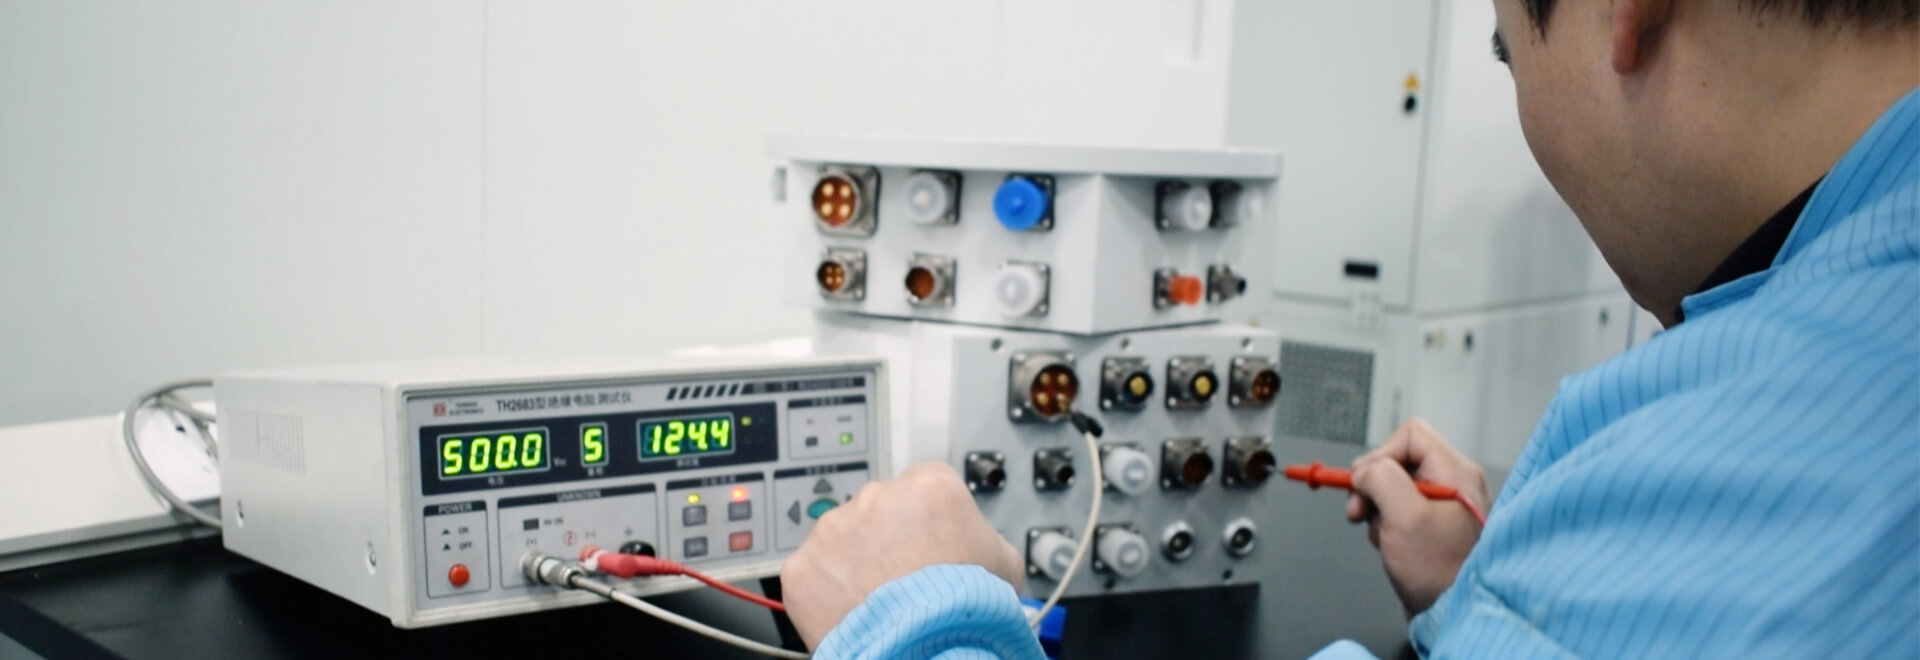
Test the assembly: Connect the wires from the slip ring to the stationary part of your device and power it on. Observe rotation responsiveness and monitor for any electrical inconsistencies. Use a multimeter to verify the proper signal or power transmission throughout the assembly.
Resource requirements – Detailed list of necessary equipment, tools, and materials.
Materials:
- Metal or conductive ring (copper, brass, silver, etc.)
- Brushes (carbon or metal)
- Wires
- Insulating material
- Mounting hardware (screws, nuts, etc.)
- Strain relief components (if needed)
Tools:
- Drill
- Soldering iron
- Wire strippers
- Pliers
- Multimeter
- Screwdrivers
- Safety equipment (gloves, goggles, etc.)
By following the comprehensive procedures and ensuring the necessary resources are at hand, you will be well-equipped to create a homemade slip ring tailored to your specific needs and requirements.
Homemade Slip Rings: Potential Challenges and Solutions
During the process of creating a homemade slip ring, you might encounter several challenges:
Inadequate Contact: If the brush does not maintain proper contact with the rotating ring, it could interfere with data or power transmission. This may be due to a weak spring, poor alignment of the brush, or inadequate mounting. Counter this issue by ensuring that the brush’s placement and alignment correspond accurately to your initial design and that your mounting is secure and stable.
Signal Interference: This challenge can emerge due to poor insulation or cross-contamination in signals across circuits. Using shielded wire and proper insulation can minimize this risk, creating a cleaner, clearer transmission of power or signals.
Material Wear and Tear: Over time, constant friction can cause wear, especially on the brush and the contact point on the ring. Selecting high-quality, durable materials, along with proper maintenance, can significantly lengthen the lifespan of your homemade slip ring.
Discuss Some Troubleshooting Tips and Tricks
To effectively respond to the aforementioned challenges or any other unexpected issues that may arise, consider these troubleshooting tips:
- Frequent Testing: Make testing a habit throughout your construction and upon completion, use tools such as multimeters for assessing the continuity or resistance in your circuits. This can reveal any power or signal breaks and inform you of necessary repairs or tweaks.
- Routine Inspection: Regular visual inspections can help detect issues such as wear and tear early, allowing repairs before significant damage occurs.
- Multi-Speed Performance Checks: Testing your slip rings at varying speeds rather than at a single speed setting will offer a comprehensive performance overview. Doing so can reveal any constraints or dysfunctions that only surface under certain rotational speeds.
Overall, patience, attention to detail, and an organized approach to troubleshooting can ensure smoother sailings when creating your homemade slip ring.
Homemade Slip Rings: Safety Precautions
Safety Measures to Consider While Constructing Your Slip Ring
Creating a homemade slip ring involves dealing with electricity, power tools, and potentially hazardous materials, making safety precautions highly necessary:
- Protective Gear: Essential safety gear includes gloves to protect hands from potential cuts and burns, and safety goggles to protect eyes from sparks or fragments when drilling or soldering.
- Workspace Safety: Ensure your workspace is clean, well-lit, and ventilated, especially when soldering. Make sure your work surface is stable and non-conductive to minimize the risk of accidents.
- Tool Safety: Operate power tools according to their safety instructions to avoid accidents, and unplug them when not in use or while making adjustments.
- Electrical Safety: Be cautious when working with electricity. Turn off power while making adjustments or during initial wiring, double-check connections before switching power back on, and use insulated tools to minimize risk.
Importance of using non-hazardous materials and proper disposal of waste.
- Non-Hazardous Materials: Opt for eco-friendly, non-toxic materials to minimize harm to you and the environment. Avoid materials with harmful coatings or substances that could be released on heating or soldering.
- Waste Disposal: The process of making a slip ring may generate waste, such as metal shavings or stripped wire coatings. Collect and dispose of these items correctly – many can be recycled. Avoid disposal methods that might introduce harmful substances into the environment.
Safety should be a priority in any do-it-yourself project. When constructing a homemade slip ring, taking the precursor safety steps can help minimize accidents or harmful exposure, while ensuring the sustainability of the process.
Homemade Slip Rings: Testing and Quality Assurance
Guidance on How to Test the Homemade Slip Ring for Functionality and Safety
The success of your homemade slip ring will depend largely on its functional capabilities and safety. Here are a few ways to test your device:
- Electrical Tests: Utilize a multimeter to verify whether the slip ring has correct continuity and resistance levels. It’s also crucial to establish that the designed voltage and current can be transmitted across the slip ring without causing damage or unnecessary heating.
- Mechanical Tests: The slip ring should be able to sustain its intended rotation speed without any operational issues such as unusual vibrations or noise. Check the stability of the contact between the brush and the ring at different speeds.
- Safety Checks: Ensure the slip ring does not produce any sparks or excessive heat during operation, as this can pose a fire hazard or warp the components.
Recommendations for quality assurance methods – How to verify if your homemade slip ring meets your expectations and necessary performance standards.
Ensuring quality standards are met involves cross-checking your final product with your initial specifications and expectations. Implement these strategies:
- Functional Verification: Ensure that the homemade slip ring performs as expected in conveying electrical signals or power from a stationary to a rotating component.
- Reliability Testing: Operate the slip ring over a long period to verify its durability and reliability. This could be over several hours or even days, depending on its intended applications.
- Performance Consistency: Consistency in performance across varying operational conditions is another hallmark of a quality slip ring. Check its performance at different rotation speeds, and if possible, under different temperature and humidity levels.
Comprehensive testing and quality assurance methods are crucial in verifying that a homemade slip ring meets the necessary standards and performs competently, ensuring its reliability and durability over time.
Homemade Slip Rings: Case Studies
Real-Life Examples or Success Stories of Homemade Slip Ring Projects
There are several instances where individuals or groups have been successful in creating homemade slip rings:
- Project by Amateur Radio Enthusiasts: A group of radio enthusiasts constructed a homemade slip ring system for their direcTV antenna rotor, allowing it to rotate 360 degrees without tangling the attached cables. They utilized copper pipes and fittings as the main components, proving effective and showing great ingenuity.
- Model Wind Turbine: A retired engineer successfully designed and built a homemade slip ring for his model wind turbine. He utilized metal brushes and a brass ring, effectively demonstrating that household objects could be repurposed in such projects.
Analysis of These Cases – Valuable Insights and Lessons Learned
Though every project differs in execution and results, there are valuable insights from these case studies:
- Think Outside the Box: Traditional materials for a professional slip ring, like gold-coated rings, aren’t always necessary. The radio enthusiasts effectively used copper pipes, while the retired engineer used brass. This teaches us that non-traditional materials can work just as well for such projects.
- Patience and Perseverance: These projects weren’t completed overnight. Both cases needed many rounds of testing, tweaking, and optimizing. The key to success in such DIY projects is patience and a willingness to persevere.
- Understanding of Basics: Both cases involved people with a solid understanding of the principles of electricity and mechanics, reinforcing the importance of a strong theoretical foundation for the successful execution of such projects.
By examining these real-life instances of homemade slip rings, we can glean valuable insights and lessons, encouraging us to tackle our projects with creativity, persistence, and a solid grasp of fundamental principles.
Conclusion
From understanding how slip rings work to navigating your way through the crafting process, this guide offers a comprehensive look at building your homemade slip rings. As you explore and delve into the process, you might just find the experience rewarding and enriching.
FAQs about Homemade Slip Rings
Creating homemade slip rings is an intriguing yet intricate process. However, it’s natural for beginners to have numerous questions regarding construction, maintenance, and applications. Here, I will address some of those common queries:
Q1: How durable are homemade slip rings?
A: Homemade slip rings can offer considerable durability, especially if constructed using high-quality materials and maintained properly. Their longevity also depends largely on their operational conditions, including the load they are transmitting, rotational speed, and environmental factors.
Q2: What maintenance does a homemade slip ring need?
A: Maintenance of a homemade slip ring majorly involves regular cleaning to remove carbon dust generated from brush conduction, greasing (if ball bearings are used), and periodic replacement of brushes subject to wear. If the slip ring house is properly sealed, cleaning may not be required as frequently.
Q3: Can a homemade slip ring transmit data?
A: Yes, a homemade slip ring can transmit data in addition to power. However, data transmission may require a higher level of precision in the build and higher quality material to maintain signal integrity.
Q4: What are some potential applications for homemade slip rings?
A: Applications are almost as diverse as your imagination allows. They could be used in any project requiring the transmission of power or data from a stationary to a rotating part. Examples include model wind turbines, rotating displays, hobbyist robotics, and DIY renewable energy projects.
Q5: What are the most common materials for homemade slip rings?
A: The most common materials used include copper and brass for the ring, carbon or metal alloys for the brushes, and plastic for the housing or insulating components. However, the material choice greatly depends on what is readily available and the specific project requirements.
See What We Can Do