Slip ring construction involves several steps, including designing, prototyping, and testing the slip ring to ensure that it meets the specific requirements and functions properly. Here is a general overview of DIY slip ring.
What Is A Slip Ring Exactly
A slip ring, also known as a rotary electrical joint, collector, or swivel, is an electromechanical device that allows the transmission of power and electrical signals from a stationary structure to a rotating one. Slip rings are used in various applications to improve mechanical performance, simplify system operation, and eliminate damage-prone wires that would otherwise be needed to connect stationary and rotating parts.
Key Components and Functionality
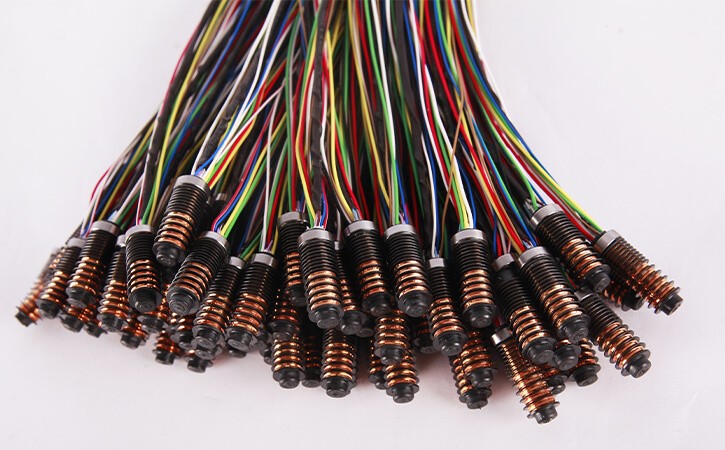
- Rotating Ring (Rotor): The part of the slip ring that rotates along with the attached equipment. It is usually made of conductive material such as copper or gold.
- Stationary Brushes (Stator): The brushes remain stationary and maintain electrical contact with the rotating ring. They are made of conductive materials, often graphite or metal, and provide a path for electrical current to travel between stationary and rotating parts.
How Slip Rings Work
Working Mechanism
- Electrical Contact: The brushes, which are part of the stationary component, press against the rotating ring. The material of the brushes and the ring ensures good electrical conductivity and minimal wear.
- Transmission of Current and Signals:
- Power Transmission: Electrical current flows from the stationary brushes to the rotating rings. This current is then transmitted to the rotating part of the machinery.
- Signal Transmission: Similar to power, electrical signals can also be transmitted through the brushes and rings, allowing for data transfer between stationary and rotating components.
Steps in Operation
- Connection: Electrical connections are made to the brushes and the rotating ring. The stationary brushes are connected to the external stationary equipment, while the rotating ring is connected to the rotating part.
- Rotation: As the machinery rotates, the ring turns with it. The brushes remain in contact with the rotating ring, ensuring a continuous electrical path.
- Continuous Transmission: Despite the rotation, the electrical connection is maintained, allowing uninterrupted transmission of power or signals. This mechanism is crucial for applications where rotation is continuous and uninterrupted connectivity is required.
Preparing for DIY Slip Ring
Materials Needed
- Conductive Rings: Typically made of copper, brass, or gold-plated materials.
- Brushes: Made of conductive materials like graphite or metal.
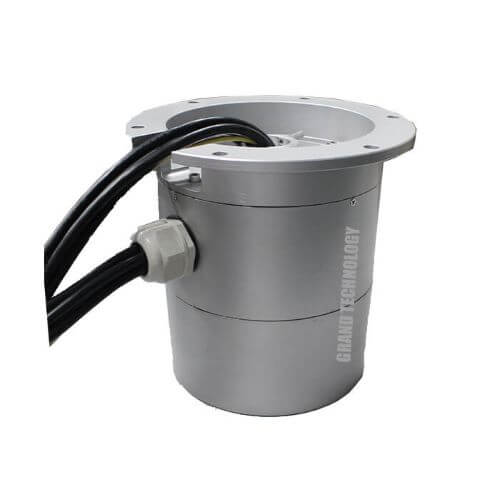
- Housing: Made of insulating material to encase the rings and brushes.
- Bearings: To allow smooth rotation of the rings.
- Connectors: For electrical connections to the stationary and rotating parts.
Tools Required
- Lathe or CNC Machine: For shaping the rings and housing.
- Soldering Iron: For electrical connections.
- Drill Press: For creating holes in the housing.
- Multimeter: For testing electrical connections.
- Screwdrivers, Pliers, and Wrenches: For assembly.
Step-by-Step Procedure on How to Make a Slip Ring
A DIY slip ring could be a hard product to manufacture. But with the right techniques and expertise, it’s often possible to manufacture and perform slip ring mounting in a small setup. DIY slip rings and miniature slip rings are both types of electrical connectors used to transmit signals or power between rotating and stationary parts, with the main distinction being that DIY slip rings are typically constructed by individuals themselves, while miniature slip rings are commercially manufactured in compact sizes for various applications.
Here’s a mini slip ring design guide for you:
Creating a slip ring requires precision and careful Assembly. Follow these detailed steps to make a slip ring:
1. Design the Slip Ring
- Specifications: Define voltage, current, signal requirements, number of circuits, and environmental conditions (temperature, humidity, etc.).
- Drawings: Create detailed engineering drawings showing dimensions and component placement.

2. Gather Materials and Tools
- Materials
- Tools
3. Fabricate the Conductive Rings
- Cutting: Use a lathe or CNC machine to cut the rings to the required size.
- Polishing: Smooth the surface of the rings to minimize wear on the brushes.

4. Prepare the Brushes
- Cutting: Cut the brushes to the required dimensions.
- Spring Attachment: If using spring-loaded brushes, attach springs to ensure consistent contact with the rings.
5. Construct the Housing
- Design and Machining: Design the housing and machine it from insulating material using a lathe or CNC machine.
- Drilling: Drill holes for bearings, brushes, and connectors.
6. Assemble the Slip Ring
- Install Bearings: Place bearings in the housing to allow smooth rotation of the rings.
- Mount Rings: Secure the conductive rings in the housing, ensuring proper alignment with the brushes.
- Attach Brushes: Fix the brushes in place so they maintain contact with the rotating rings.
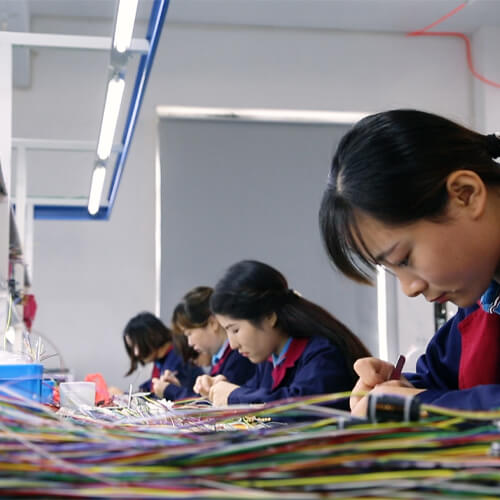
- Connect Wires: Solder wires to the brushes and rings for electrical connections.
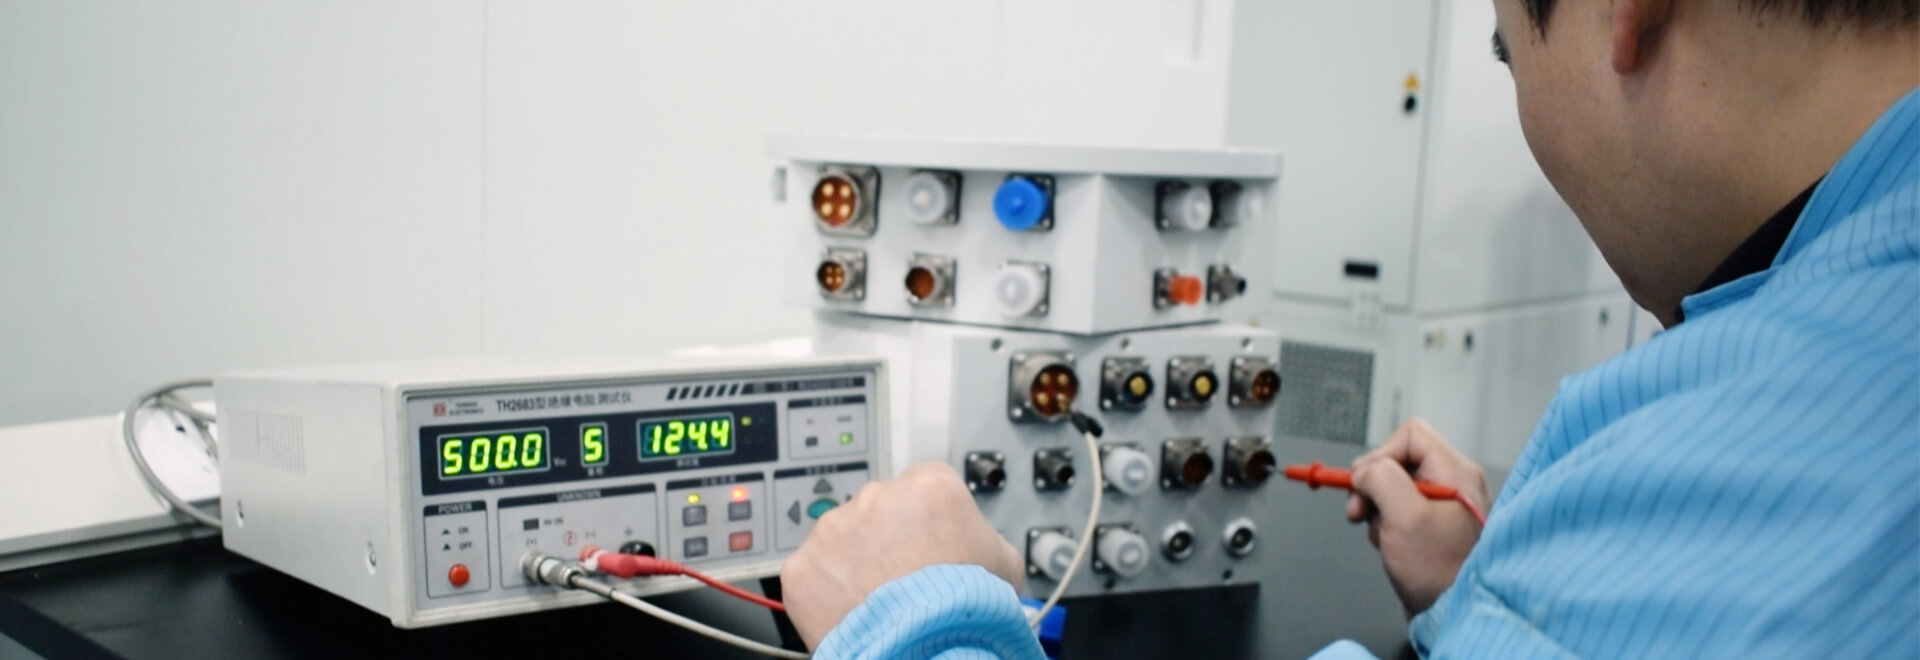
7. Testing and Quality Control
- Continuity Testing: Use a multimeter to check electrical continuity between the stationary and rotating parts.
- Load Testing: Test the slip ring under actual load conditions to ensure it meets the required specifications.
- Inspect Assembly: Check for mechanical and electrical issues.

8. Final Assembly and Packaging
- Secure Components: Ensure all parts are firmly fastened.
- Seal Housing: If necessary, seal the housing to protect against environmental factors.
- Label and Package: Label the slip ring with its specifications and package it appropriately.
Detailed Assembly Steps
- Conductive Rings:
- Machine the rings to the desired size and shape using a lathe.
- Polish the surface of the rings to reduce friction and wear.
- Brushes:
- Cut the brushes to size and shape.
- Attach springs if necessary to maintain consistent pressure on the rings.
- Housing:
- Machine the housing to fit the rings and brushes.
- Drill precise holes for bearings and electrical connectors.
- Bearings:
- Insert bearings into the housing to facilitate smooth rotation.
- Mounting Rings and Brushes:
- Position the rings within the housing.
- Secure the brushes so they maintain contact with the rotating rings.
- Electrical Connections:
- Solder wires to the brushes and rings.
- Ensure proper insulation to prevent short circuits.
- Testing:
- Perform continuity tests using a multimeter.
- Conduct load tests to verify performance under operational conditions.
- Final Checks and Packaging:
- Double-check the alignment and secure all components.
- Seal the housing if necessary.
- Label the slip ring with its specifications and package it securely for transport.
By following these steps carefully, you can create a functional and reliable slip ring suitable for a variety of applications.
Requirements for Construction and Slip Ring Installation
Here are some things that are required to make a slip ring:
Materials: The materials used to make a DIY slip ring will depend on the specific requirements and application of the slip ring. Common materials used to make slip rings include copper, aluminum, brass, and carbon.
Computer-aided design software or other design tools: These tools can be used to create a detailed design of the slip ring, including the dimensions, materials, and other specifications.
Prototyping equipment: Equipment such as 3D printers or other prototyping tools can be used to create a prototype of the slip ring.
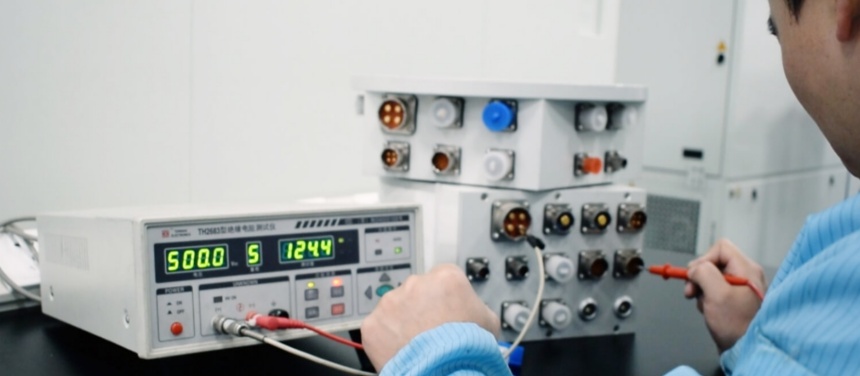
Testing equipment: Testing equipment, such as load cells, torque sensors, and temperature sensors, can be used to test the prototype of the slip ring to ensure that it meets the specific requirements and functions properly.
Since 3D printing seems to be the way to follow, here is a mini briefing about the same. 3D printing is a process of creating a physical object from a digital design. Here’s how it works:
The first step is to create a digital design of the object you want to print. This can be done using computer-aided design software.
The digital design is then sliced into thin layers, typically around 0.1 millimeters thick.
The 3D printer reads the digital design and begins to build the object layer by layer. It does this by using a material, such as plastic or metal, and adding it to the build platform in the desired shape.
The 3D printer moves the build platform and/or the extrusion head to the correct positions to create each layer. It may also use heat or UV light to cure the material as it is deposited.
Once the object is complete, the 3D printer stops, and the finished object can be removed from the build platform.
There are many different types of 3D printers, which use a variety of techniques and materials. Some common methods include fused filament fabrication, which uses a filament of plastic or other material that is melted and extruded through a nozzle, and selective laser sintering, which uses a laser to fuse powdered material into a solid object.
Things to Keep in Mind During the Process
It is important to note that creating a DIY slip ring can be a complex process that requires specialized knowledge and expertise in electrical engineering, mechanical engineering, and materials science. It is recommended to seek the help of professionals or consult with a manufacturer that specialized in slip rings to ensure that the slip ring is designed, prototyped, and produced properly before proceeding to design a homemade slip ring.
Here are some precautions to be taken in mind while manufacturing and using a slip ring:
Use proper materials: The materials used to make a slip ring should be appropriate for the specific application and requirements. Using the wrong materials may result in reduced performance and reliability.
Test the slip ring: It is important to test the slip ring to ensure that it meets the specific requirements and functions properly. This may involve testing the slip ring under different conditions, such as different loads, speeds, and temperatures.
Regular maintenance and inspection: Regular maintenance and inspection of the slip ring can help ensure its proper functioning and extend its lifespan. It is important to follow the manufacturer’s instructions for maintenance and to replace any worn or damaged components as needed.
Avoid contamination: Contamination of the slip ring can affect its performance and reliability. It is important to take precautions to prevent contamination, such as using protective covers and keeping the slip ring clean and dry.
Avoid misalignment: Misalignment of the slip ring can lead to reduced performance and reliability. It is important to ensure that the slip ring is properly aligned and tightened to ensure a secure and reliable connection.
Use proper safety equipment: It is important to use proper safety equipment when working with slip rings, such as gloves and protective eyewear. It is also important to follow proper safety procedures to prevent accidents and injuries.
A DIY slip ring is always a fun thing to make, but the various expertise and techniques that it demands usually limit the attempt. Anyways, it doesn’t hurt to try and we appreciate it by enriching our website with more information like these. Stay tuned!
See What We Can Do